Contact support once you are on site (1-855-885-4888)
Find package (Ask GC/GM where package is located)
Test sensor comms (Hook sensor directly into switch, confirm if POE port, or POE Injector)
Send photos (Network room, network switch, 2x Wide angle at each entrance from inside the store)
Send measurements (Mounting Height, Entrance Width, Distance to mockup location from entrance) (mockup provided by tech support)
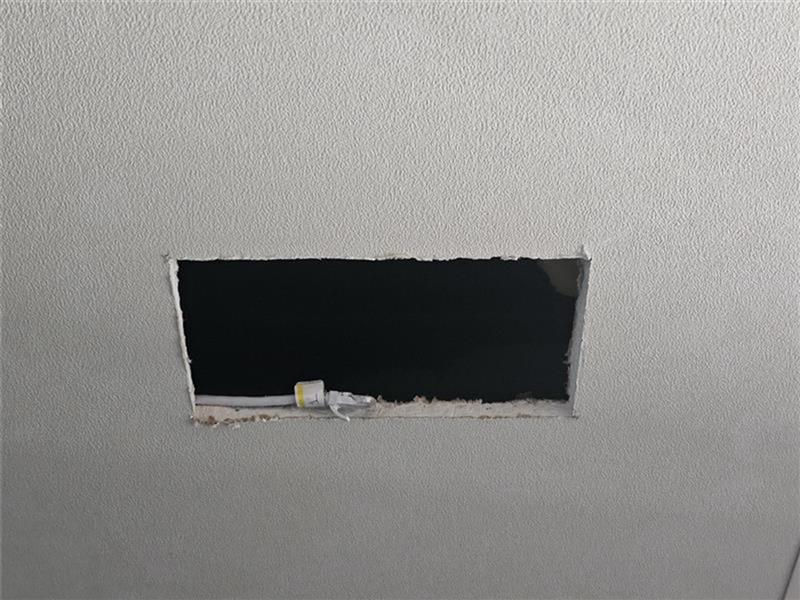
Check above ceiling at mockup location for clearance for recessed kit (1 foot wide, and 1 foot high above ceiling)
Discuss a possible installation position with tech support that would avoid hitting any items above the ceiling.
Once approved to proceed with install by Support, mark the approved position lightly with a pencil for a 8.7 inch x 4.8 inch square hole to be cut.
Using a Blade or Drywall saw, cut out the area marked and bring the cable through the hole.
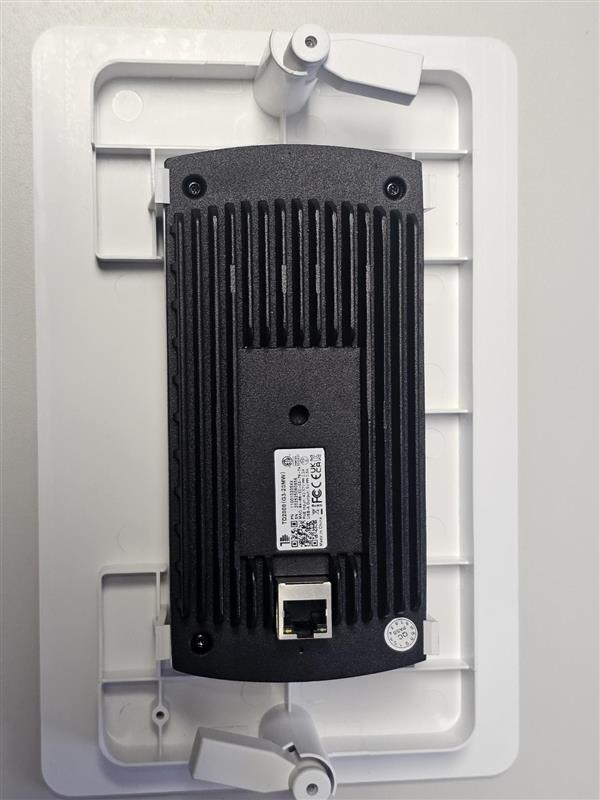
Place the kit on the table, line up the indicator lights to the holes, and press the unit in until it clips onto the kit.
Terminate cable run with T568B (If not already terminated), and plug the sensor into the cable run. Also be sure to rotate the fins inward before placing the unit into the ceiling.
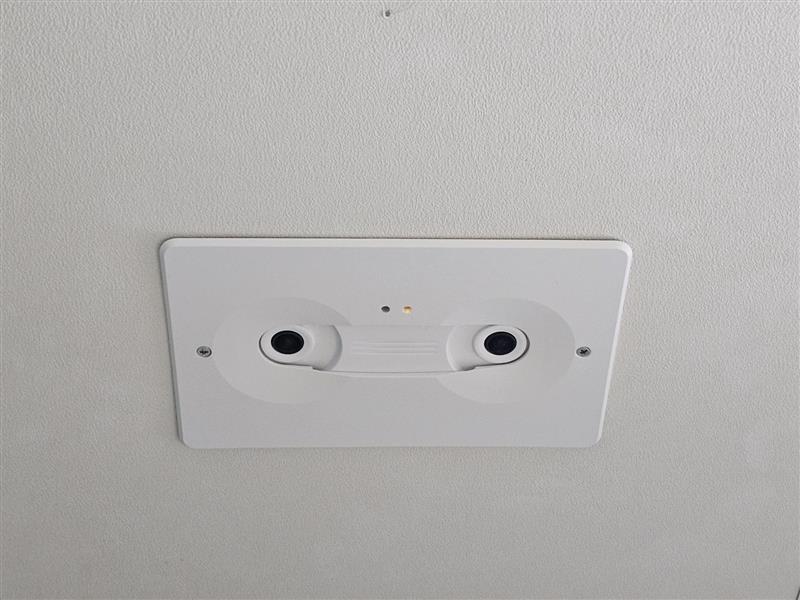
Mount the base kit into the ceiling, and tighten the screws on the face of the kit until the fins hare firmly holding the unit to the ceiling. DO NOT OVERTIGHTEN THE SCREWS!
Send photos (Wide angle shot of entrance, close up of sensor, labeled network cables, where POE Injector is left)
Send network switch info (Switch make and model, port number for each sensor, patch panel port number for each sensor)
Count test (Stand under sensor to verify sensor height, perform walk tests as directed by Prodco Support 15 in/15 out)