How Can We Help?
Universal Recessed Kit Installation
Instructions
- Contact support once you are on site (1-855-885-4888)
- Find package (Ask GC/GM where package is located)
- Test sensor comms (Hook sensor directly into switch, confirm if POE port, or POE Injector)
- Send photos (Network room, network switch, 2x Wide angle at each entrance from inside the store)
- Send measurements (Mounting Height, Entrance Width, Distance to mockup location from entrance) (mockup provided by tech support)
- Check above ceiling at mockup location for clearance for recessed kit (1 foot wide, and 1 foot high above ceiling)
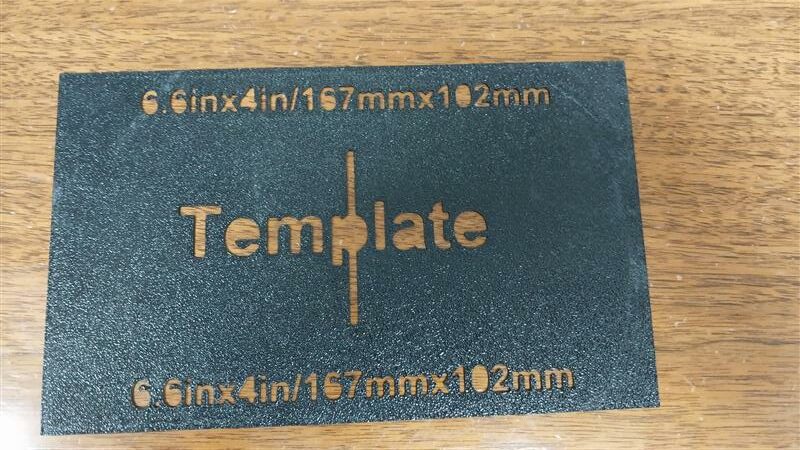
- Place the 6.7 inch x 4 inch template in the mockup position where there are no obstructions above the ceiling. Use the double sided tape dot shipped to hold the template to the ceiling, and send a picture to tech support.
- Once approved to proceed with install by Support, mark the approved position by tracing the 6.7 inch x 4 inch template for the square hole to cut lightly with pencil.
- Terminate cable run with T568B (If not already terminated)
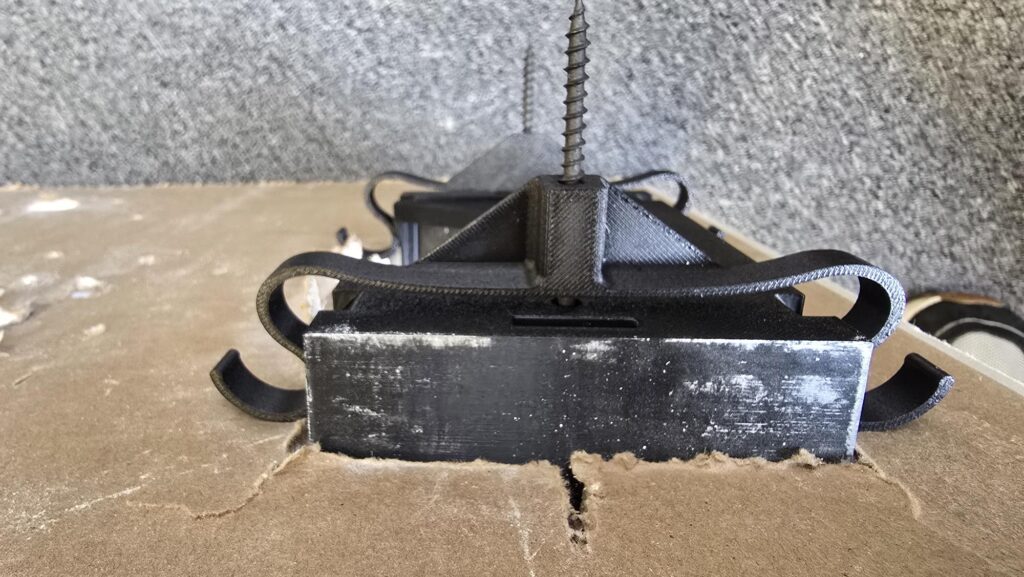
- Mount base kit into the ceiling, and only tighten the tension arms to a hand-tight toque.
- Remove white faceplate from the sensor to where the sensor itself is all black.
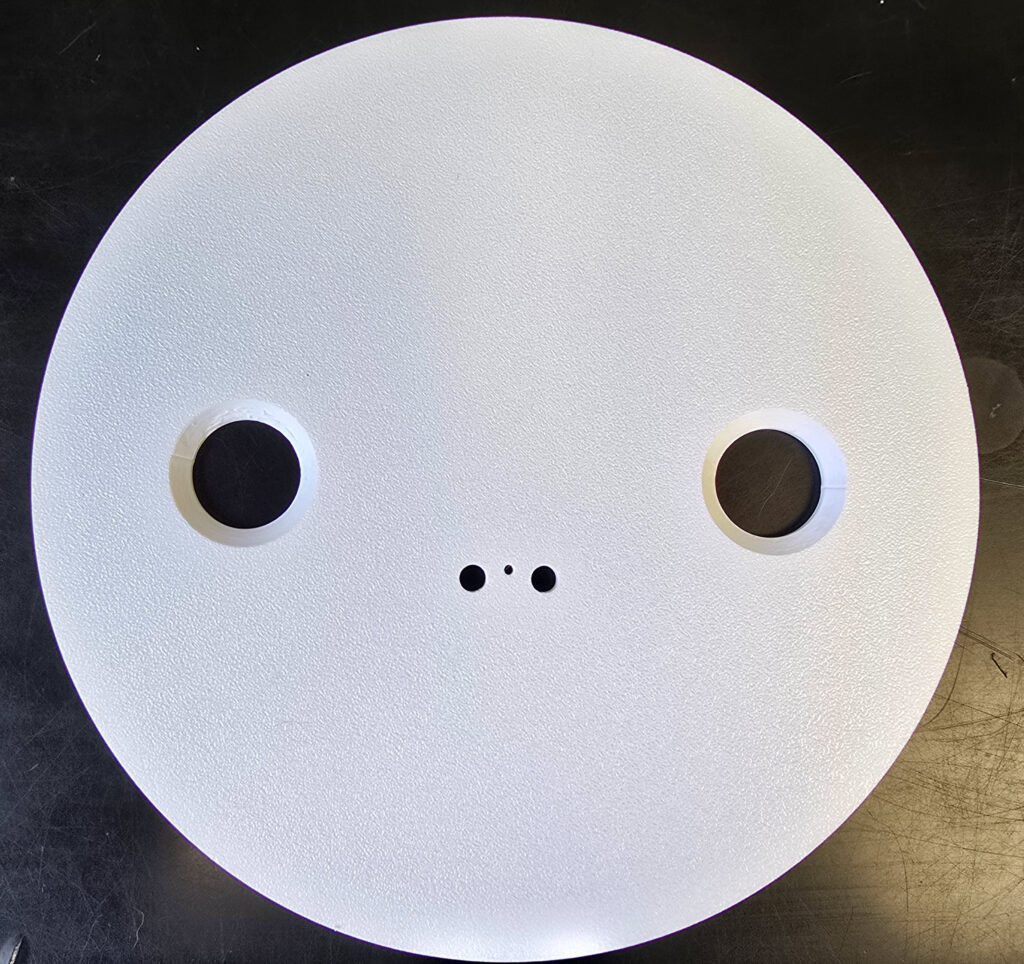
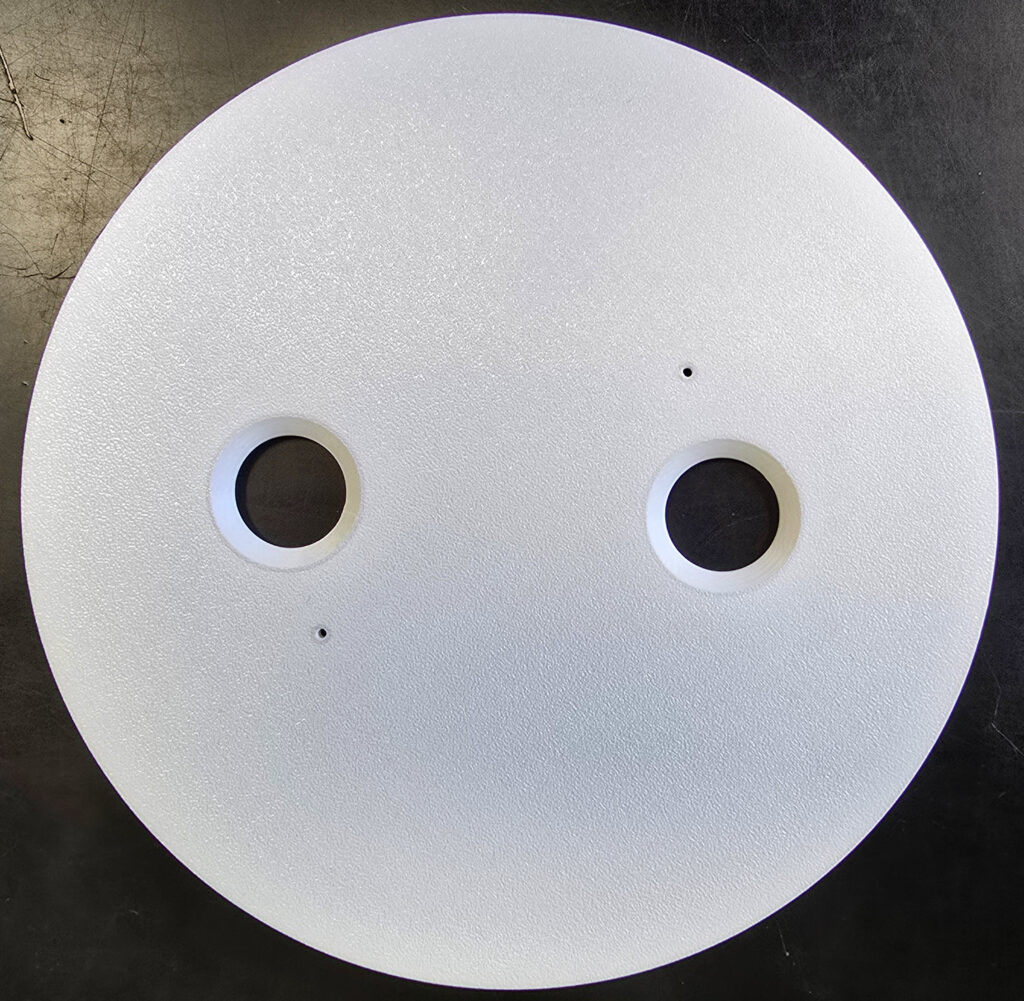
- Plug in the sensor to the cable run and tighten unit to kit using the #8 screws provided. Make sure the LAN port of the unit is towards the most open end of the kit to allow space for it.
- Add the 2x remaining wood screws with wide paddles to the flanges on each side of the kit.
- Attach the faceplate to the kit. The faceplate should snap on the sides of the base kit installed on the ceiling.
- Send photos (Wide angle shot of entrance, close up of sensor, labeled network cables, where POE Injector is left)
- Send network switch info (Switch make and model, port number for each sensor, patch panel port number for each sensor)
- Count test (Stand under sensor to verify sensor height, perform walk tests as directed by Prodco Support 15 in/15 out)
Kit Parts
Kit Measurements
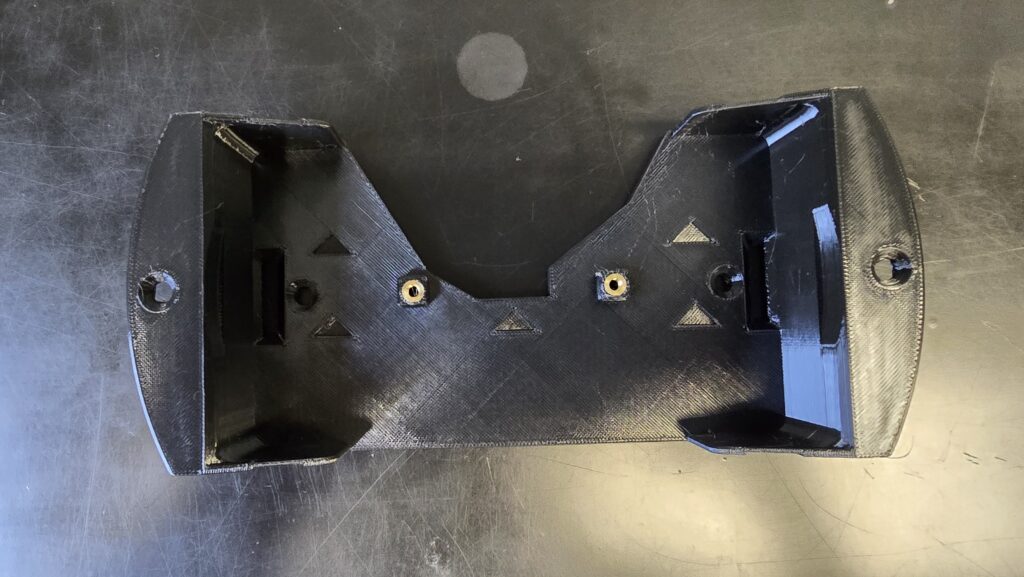
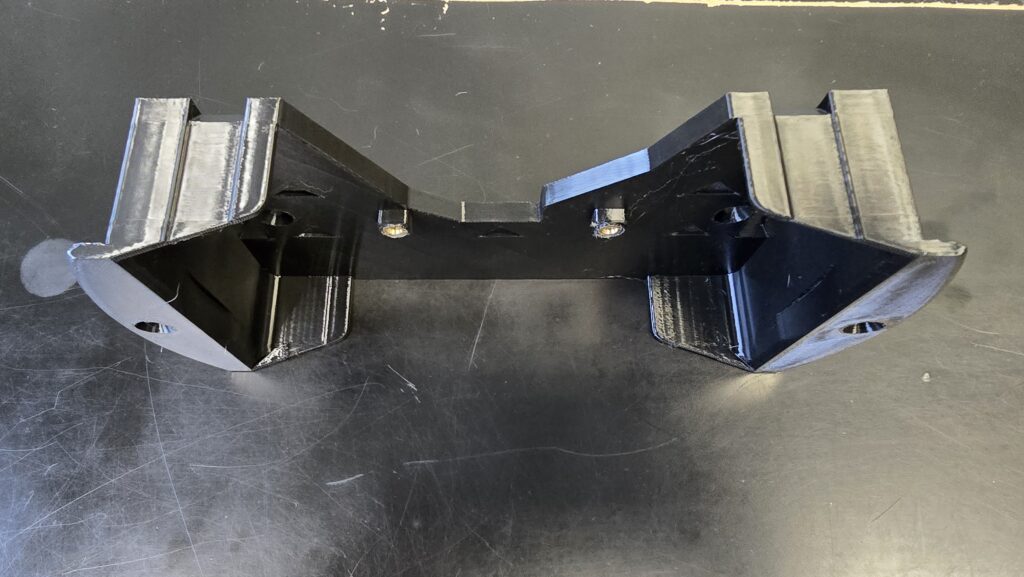
Main Bracket Base
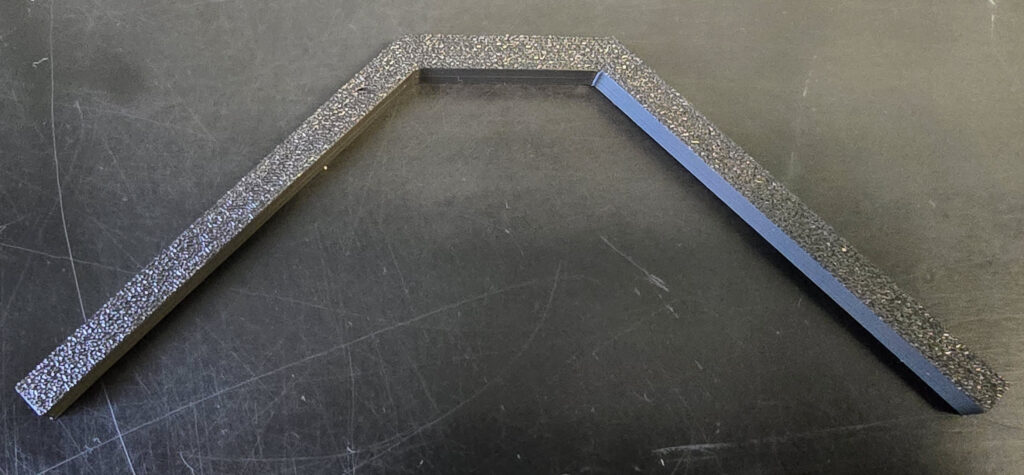
Main-BracketTension Arm
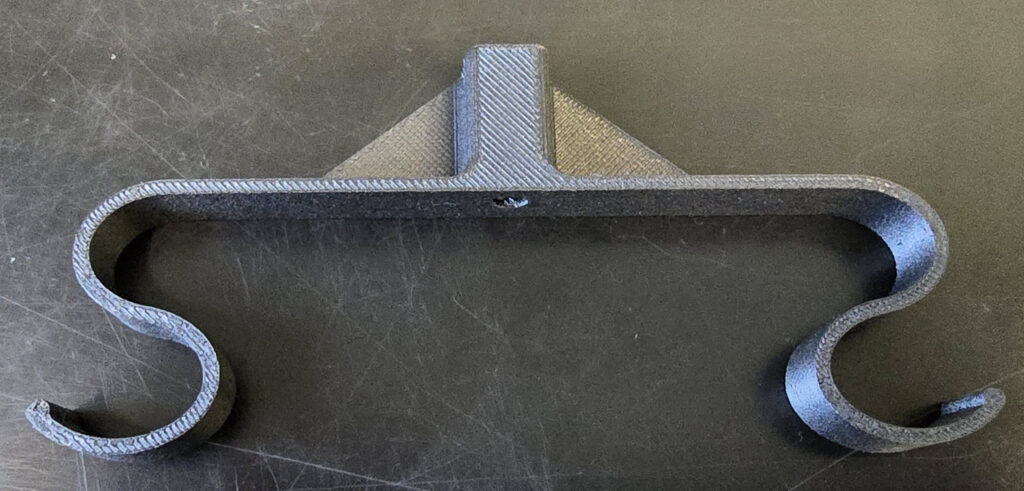
Tension-ArmPC3D Faceplate
Xovis-Mount-PC3D-v16BPC Faceplate
Brickstream-Mount-BPC